Tables
Table in HTML is made with the <table> element.
Each row in a table is made with the <tr> element.
Each cell in the row is defined with the <td> tag.
First row of the table can also be set as the heading, which is defined with the <th> element.
By default, headings are bold and centered.
HTML Basic Tables(Difficulty Level - Beginner)
Write or copy some HTML into your editor.
<html>
<body>
<table>
<tr>
<th> First Name </th>
<th> Last Name </th>
<th> Gender </th>
</tr>
<tr>
<td> Harry </td>
<td> Potter </td>
<td> Male </td>
</tr>
<tr>
<td> Emma </td>
<td> Watson </td>
<td> Female </td>
</tr>
</table>
</body>
</html>
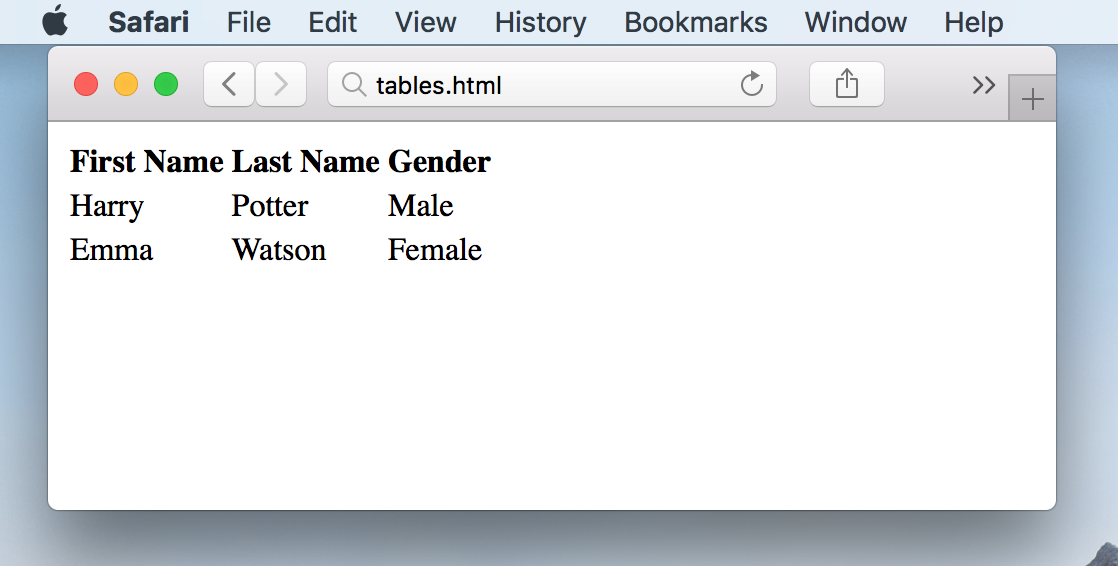
View the HTML Page in Your Browser
Open the saved HTML file in your favorite browser (double click on the file, or right-click - and choose "Open with").
The result will be similar to following figure.
The TD element of HTML table is an all rounder
td element can contain ...
Text
Images
Lists
Other Tables etc
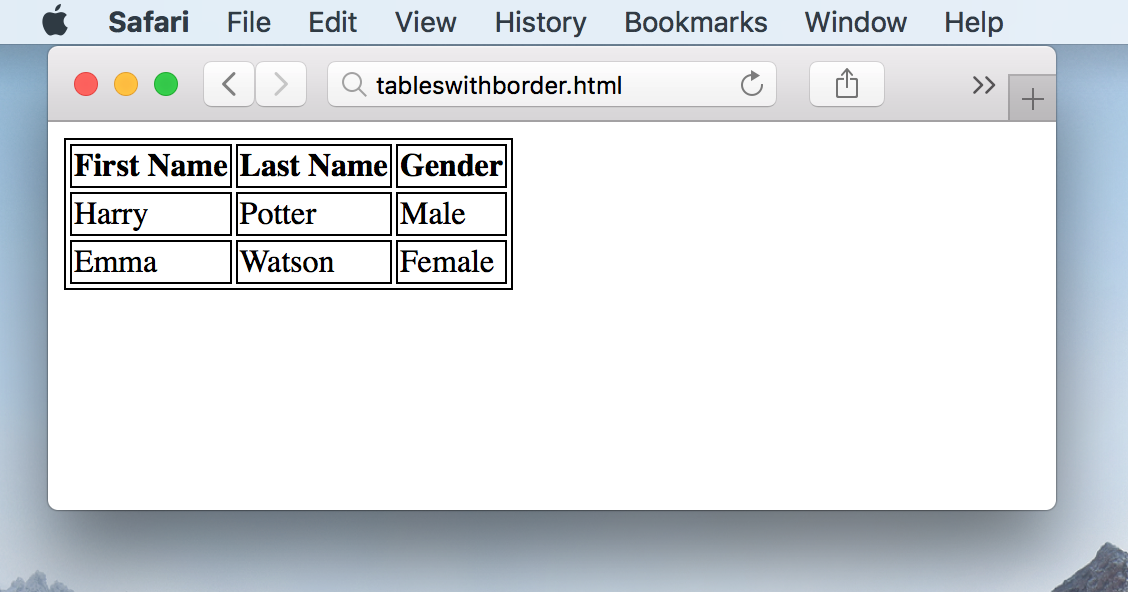
The Border of HTML table
By default the table made with table element are border less
Border can be added to html table by using CSS Border Property
Lets add some border to table which we made in previous example.
Write or copy some HTML into your editor.
<html>
<head>
<style>
table, th, td {
border: 1px solid black;
}
</style>
</head>
<body>
<table>
<tr>
<th> First Name </th>
<th> Last Name </th>
<th> Gender </th>
</tr>
<tr>
<td> Harry </td>
<td> Potter </td>
<td> Male </td>
</tr>
<tr>
<td> Emma </td>
<td> Watson </td>
<td> Female </td>
</tr>
</table>
</body>
</html>
View the HTML Page in Your Browser
Open the saved HTML file in your favorite browser (double click on the file, or right-click - and choose "Open with").
The result will be similar to following figure.
The Border Spacing of HTML table
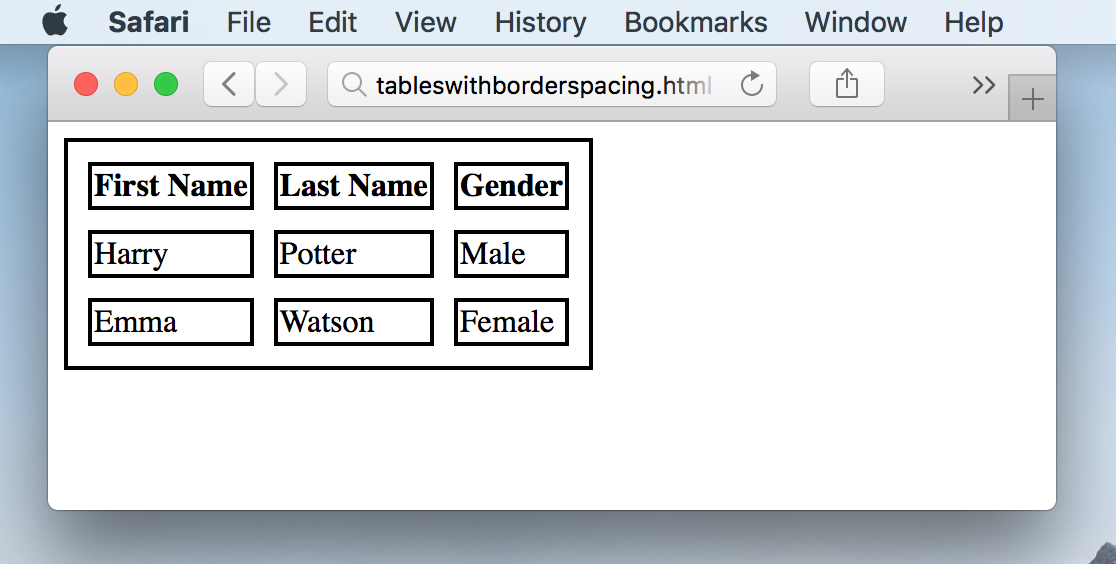
The default border spacing can be changed by using CSS Border Spacing Property
Lets add some border spacing to table which we made in previous example.
Write or copy some HTML into your editor.
<html>
<head>
<style>
table, th, td {
border: 2px solid black;
}
table{
border-spacing: 10px;
}
</style>
</head>
<body>
<table>
<tr>
<th> First Name </th>
<th> Last Name </th>
<th> Gender </th>
</tr>
<tr>
<td> Harry </td>
<td> Potter </td>
<td> Male </td>
</tr>
<tr>
<td> Emma </td>
<td> Watson </td>
<td> Female </td>
</tr>
</table>
</body>
</html>
View the HTML Page in Your Browser
Open the saved HTML file in your favorite browser (double click on the file, or right-click - and choose "Open with").
The result will be similar to following figure.
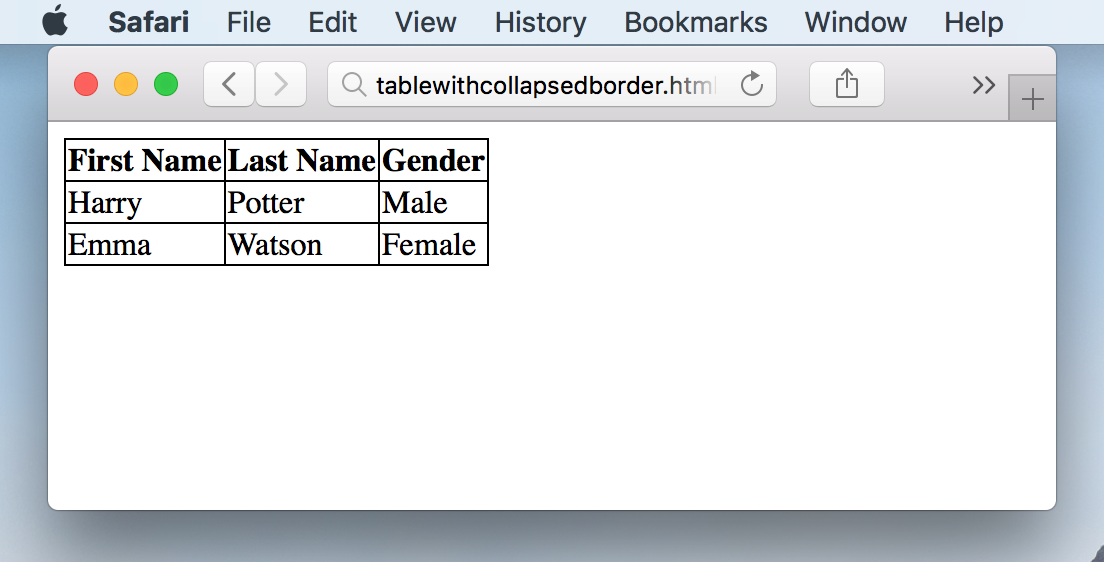
The Collapsed Border of HTML table
If you don't like these double borders, you can collapse them
Borders can be collapsed using Border Collapsed Property of CSS
Lets make some changes in previous example.
Write or copy some HTML into your editor.
<html>
<head>
<style>
table, th, td {
border: 1px solid black;
border-collapse: collapse;
}
</style>
</head>
<body>
<table>
<tr>
<th> First Name </th>
<th> Last Name </th>
<th> Gender </th>
</tr>
<tr>
<td> Harry </td>
<td> Potter </td>
<td> Male </td>
</tr>
<tr>
<td> Emma </td>
<td> Watson </td>
<td> Female </td>
</tr>
</table>
</body>
</html>
View the HTML Page in Your Browser
Open the saved HTML file in your favorite browser (double click on the file, or right-click - and choose "Open with").
The result will be similar to following figure.
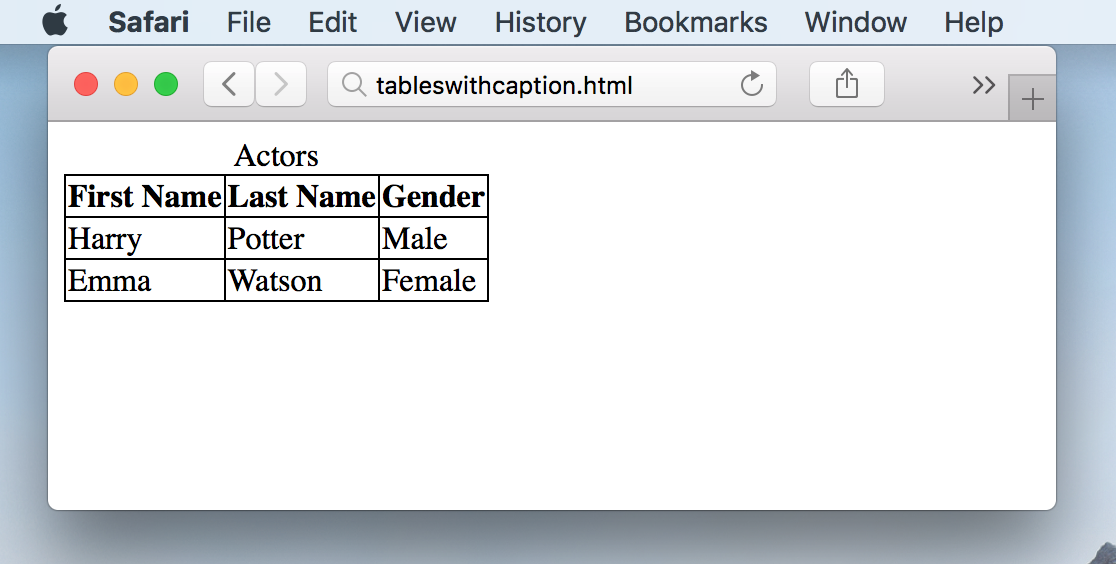
The Caption of HTML table
The Caption can be added to HTML Table by using Caption Element
Lets add Caption of Actors to our HTML Table.
Write or copy following HTML into your editor.
<html>
<head>
<style>
table, th, td {
border: 1px solid black;
border-collapse: collapse;
}
</style>
</head>
<body>
<table>
<caption> Actors </caption>
<tr>
<th> First Name </th>
<th> Last Name </th>
<th> Gender </th>
</tr>
<tr>
<td> Harry </td>
<td> Potter </td>
<td> Male </td>
</tr>
<tr>
<td> Emma </td>
<td> Watson </td>
<td> Female </td>
</tr>
</table>
</body>
</html>
View the HTML Page in Your Browser
Open the saved HTML file in your favorite browser (double click on the file, or right-click - and choose "Open with").
The result will be similar to following figure.
